Top tips for better phone photos

When I was in the midst of my television news career, I was told “in about 10 years everyone is going to be a reporter.”

Guess what? It came true.

Now everyone whips out their phone when they see something interesting. Sometimes it feels like there are more YouTube channels than humans.

Guess what else? I think the same is true about photography.

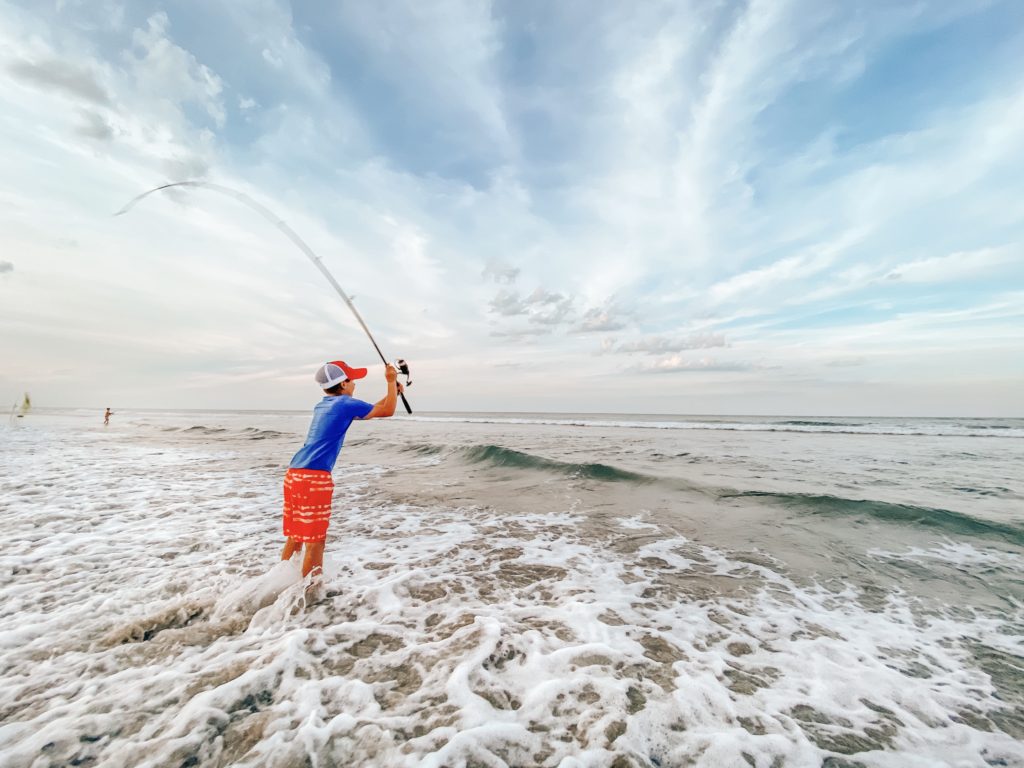
We are now all photographers. We have this amazing tool we carry in our pockets that can document those precious moments in our lives.

That’s where I want to help. You CAN take better photos of your family. It’s possible. Of course, there’s always something new to learn, but here are my top three phone photo tips.

  1. Choose the best light: Look for diffused light. What does that mean? The best time of day to take photos outdoors would be early in the morning or late in the evening. Covered shade (shade that isn’t spotty with little strips of light shining through) or clouds can also be helpful. If you’re shooting outside and you don’t have clouds, shade or time of day working in your favor, turn your subjects so that the sun isn’t hitting them right in the face. You don’t have a ton of wiggle room to “fix” things when editing a cell phone photo, so avoiding harsh light is key. Shooting indoors? Try to use all natural light (turn off all lamps, ceiling lights, etc.).
  2. Take a ton of photos: If I’ve ever photographed your family, you have probably noticed I take a LOT of photos. One of the reasons is that expressions change so rapidly. Usually, it’s the in-between moments that are the best. Another reason? Angles. I like to move all around when I take photos. Oftentimes, the unorthodox angle is the one I actually prefer. Worried you might end up with an overload of images on your phone? See the tutorial below on how to quickly delete photos on your iPhone.
  3. Throw a preset or filter on your photo to give it an extra pop: Digital photos by nature are a tad dull. That’s where presets and filters come into play. There’s a difference between the two. Presets can be adjusted after they’re applied. You can tweak the sliders of presets to adjust pretty much anything in a photo. The only thing that can be adjusted on filters is the opacity of the filter. Either way — they can really add a little extra something to your photos. I have a pack of presets that I’ve created using the same formulas I use for client work. You can also find other presets out there for purchase depending on your style.

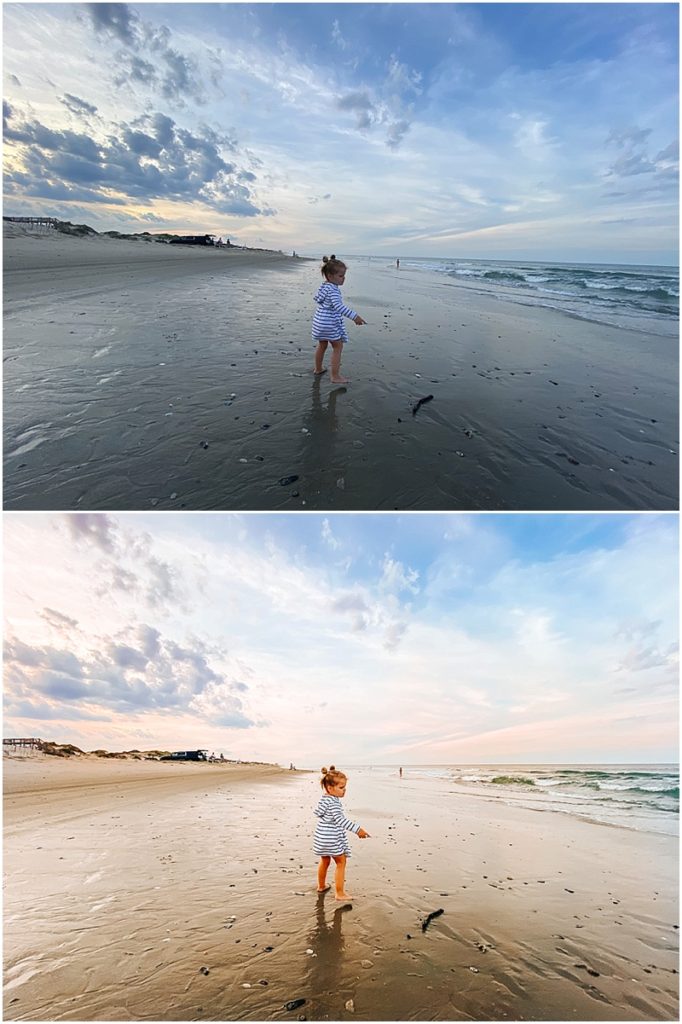
Here’s a little before and after using LMP Presets:

Here’s a video tutorial on how to select and delete multiple images at once on your phone:

I hope these tips help you as you start snapping. You can be creative and have fun all while documenting your beautiful family. As always, send me an email if you have any questions at all. I’m here to help.

Share this post

I’m Lindsey

Lindsey Martin Photography

I’m a family and newborn photographer in Richmond, VA. For me, capturing the big milestones is important, but so is freezing the everyday. No matter whether you’re ready to book a session or just want to learn the best way to capture your own memories, we’ve got you covered.

search the site

Newborn Photos

Let’s capture all of the tiny details you never want to forget.

featured posts

post categories

popular posts

Mobile Presets

Ready to take your phone photos to the next level?

Get the guide to better phone photos

One-click mobile presets are the easiest way to give your phone photos that professional pop, but you can also learn more about lighting, composition and editing tricks in the free Guide to Better Phone Photos that comes with your purchase of the Signature Preset Collection. It’s 10 pages of tips that will give you a new perspective on phone photography.

Scroll to Top